Everything we write about Assetto Corsa EVO: how to go faster, what to change in the setup and what to buy.
 Guide
Guide
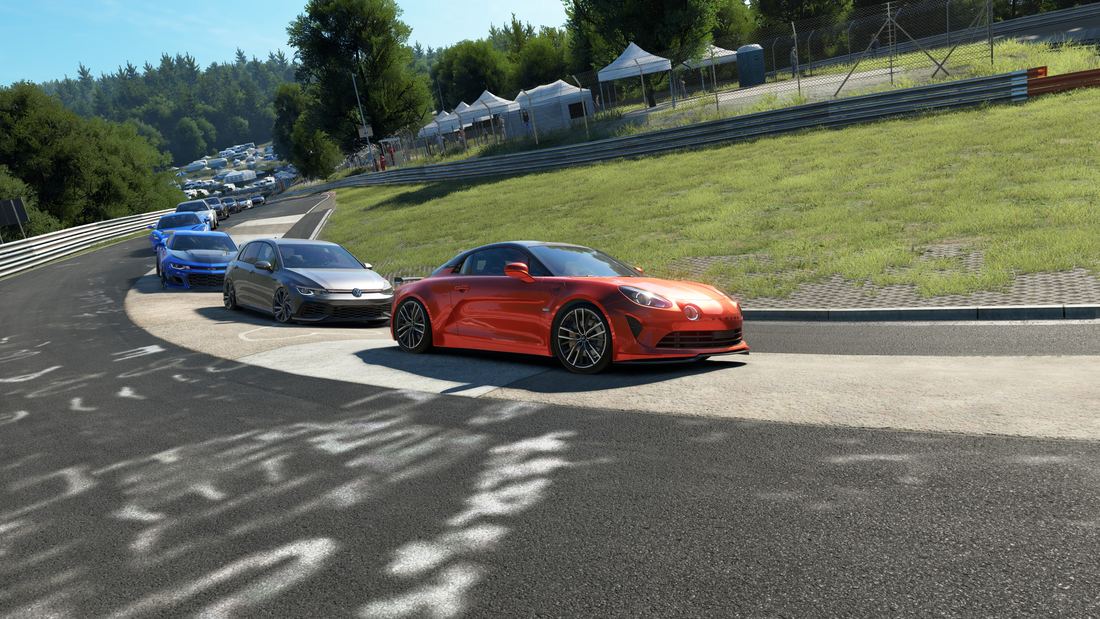
How to break the 20.8 km into chunks, where the time really goes and the five decisive sections.
Read →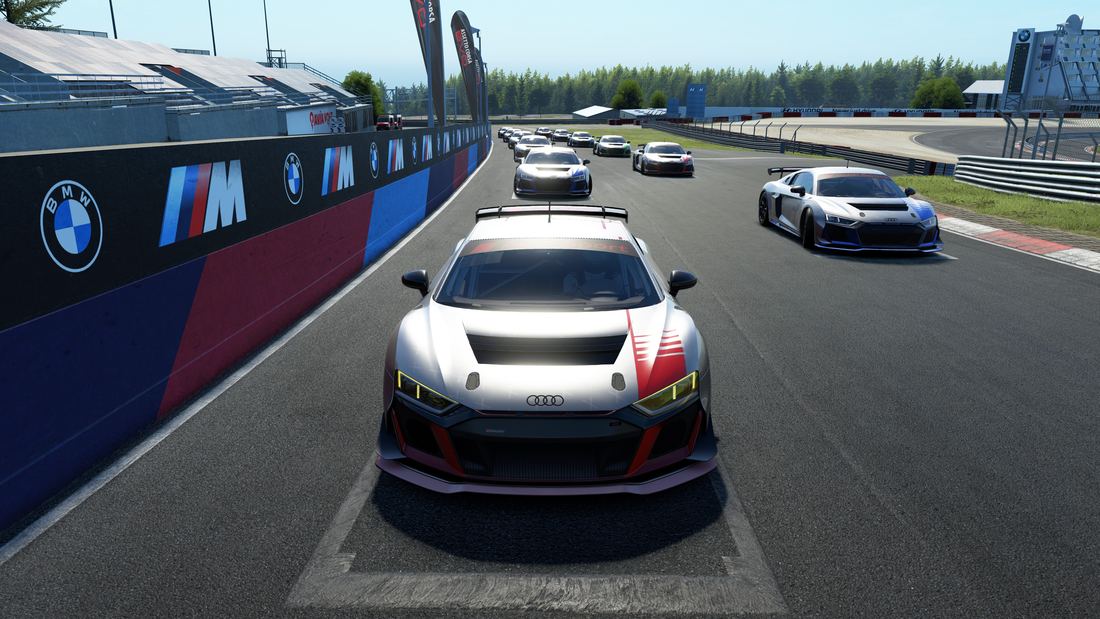 Guide
Guide
Where overtakes actually happen, how to set the move up early and when to back out.
Read →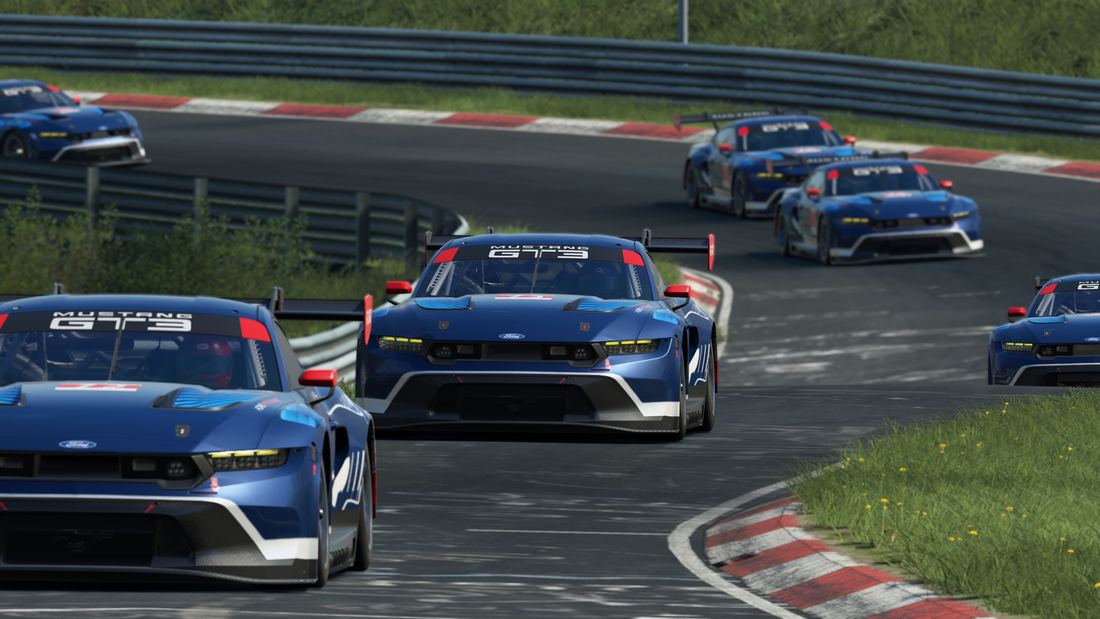 Guide
Guide
Flags, pit lane, rolling starts and the three rules that prevent 90% of incidents.
Read → Guide
Guide
Calendar, entry, regulations, incident review and how a penalty is decided.
Read → Guide
Guide
What it is, why it rotates the car, how to practise it and the mistakes that end in a spin.
Read → Guide
Guide
How to break the lap down, where the time really is and why consistency comes first.
Read → Guide
Guide
What they really do, what level to use per car and track, and whether to turn them off.
Read →
Guide
Working out fuel, deciding when to pit, undercut and overcut, and reaching the end intact.
Read →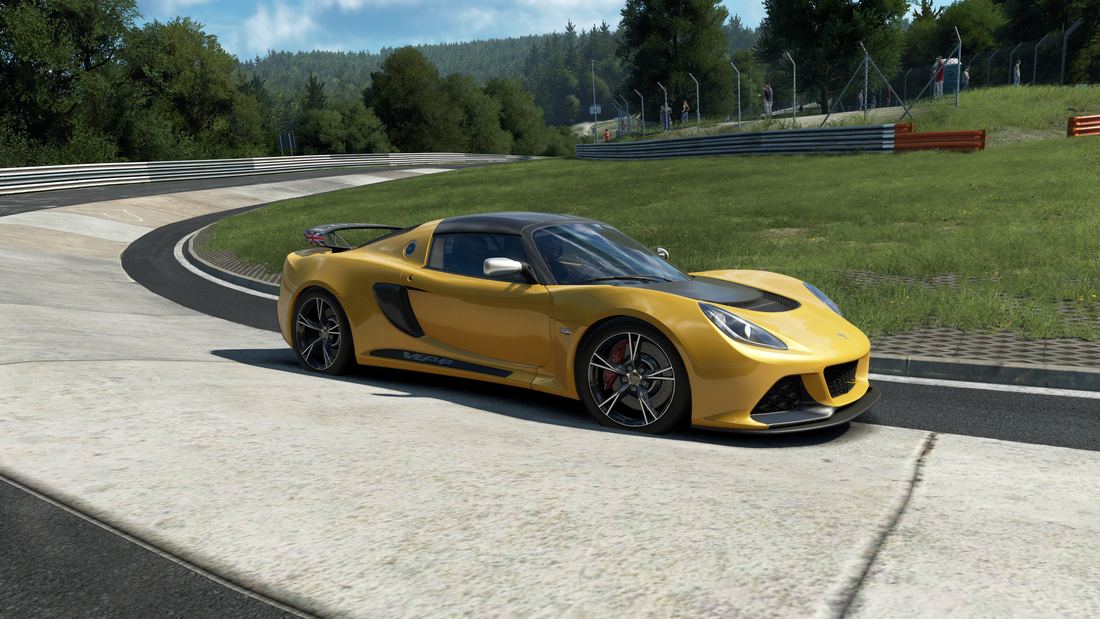 Guide
Guide
Types of mod, how to install them, how to spot a trustworthy one and what to check before paying.
Read →
Hardware
Minimum and recommended specs, what they mean in practice and what to upgrade first.
Read →
Guide
What each one covers, how they differ and which fits the way you race.
Read →
Guide
What to set up before driving, which car to start with and how not to waste your first ten hours.
Read →
Guide
The full list by family, what each group teaches and which to pick for your level.
Read →
Guide
Why it stabilises the car on downshifts, how to practise it and when it isn't needed.
Read →
Guide
How to divide it, what references to look for and how many laps it really takes.
Read →
Guide
The errors you can't feel but that show up on the clock, and how to fix each one.
Read →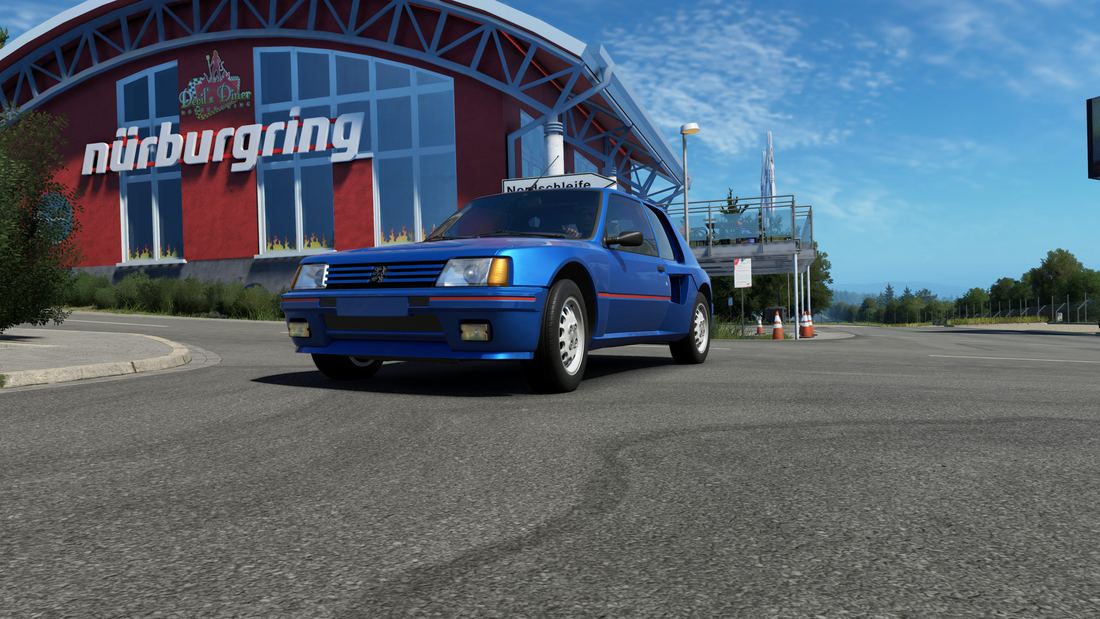 Setup
Setup
What camber and toe do, how to set them by temperature and what each one changes.
Read →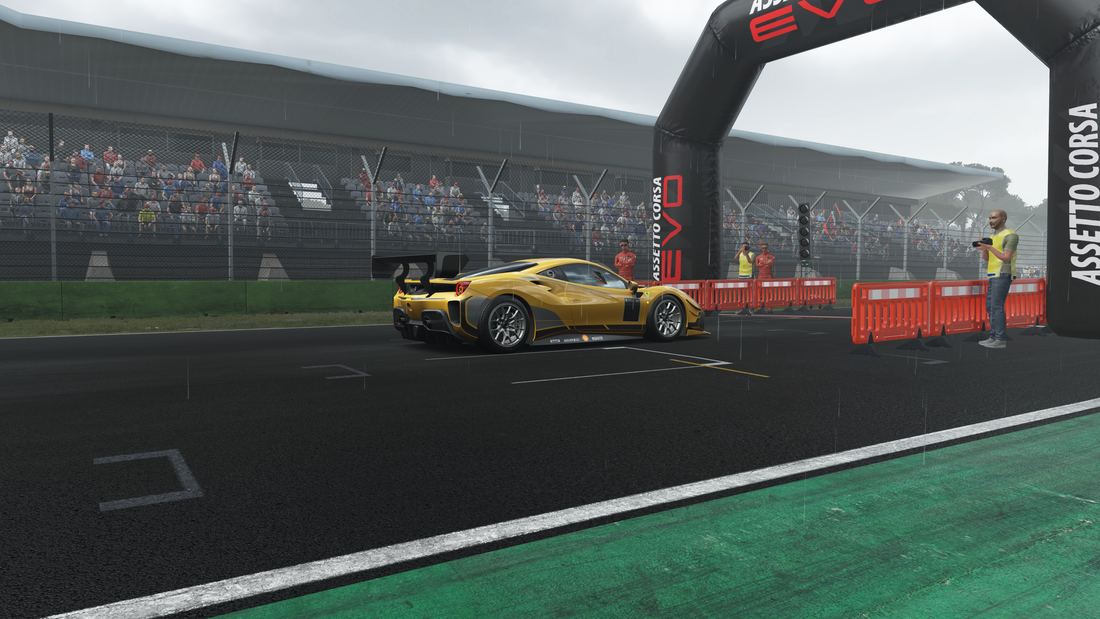 Setup
Setup
What to change first when the rain comes, and why pressures matter more than anything else.
Read →
Setup
What each click does, how it shows up at the rear axle and how to find your value.
Read →
Setup
What the working window is, how to read the three zones of the tread and how to set pressures properly.
Read →
Setup
What each part does, how it changes balance and what order to touch them in.
Read →
Setup
What preload, power lock and coast lock mean, and how each one feels.
Read →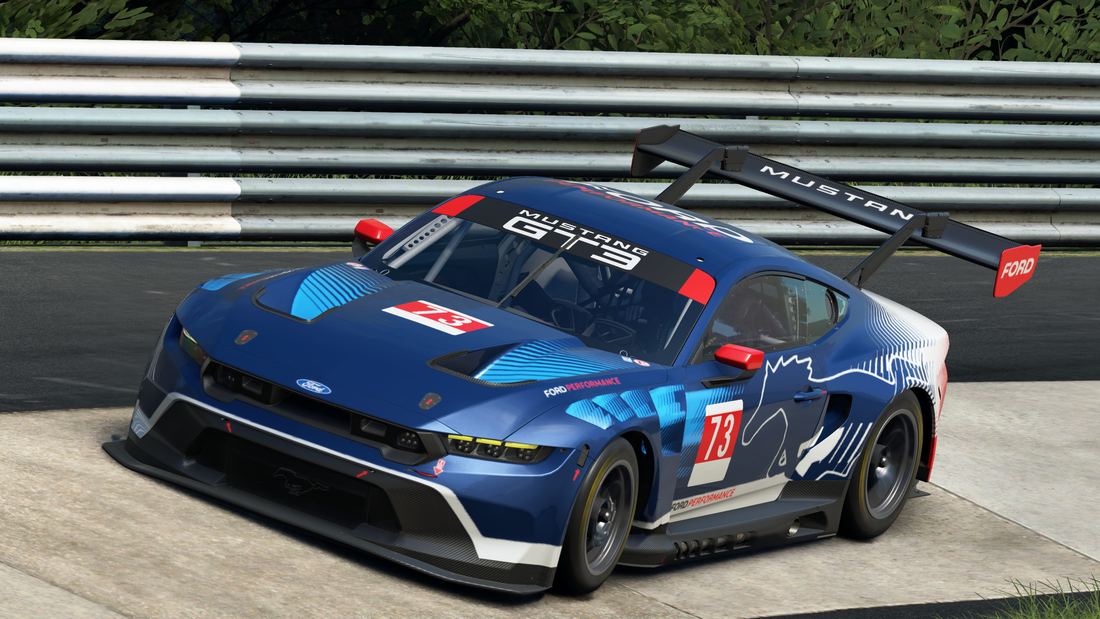 Setup
Setup
Why more wing isn't always better, how to pick it per track and what the tow does.
Read →
Hardware
Height, distances, rigidity and screen placement: what lets you last a long stint.
Read →
Hardware
Gear, belt or direct drive: what each step buys you and where it stops mattering.
Read →
Hardware
What each parameter does, what order to touch them in and how to spot clipping.
Read →
Hardware
Field of view, references, cost and GPU demand: what each option gains and how to set it up.
Read →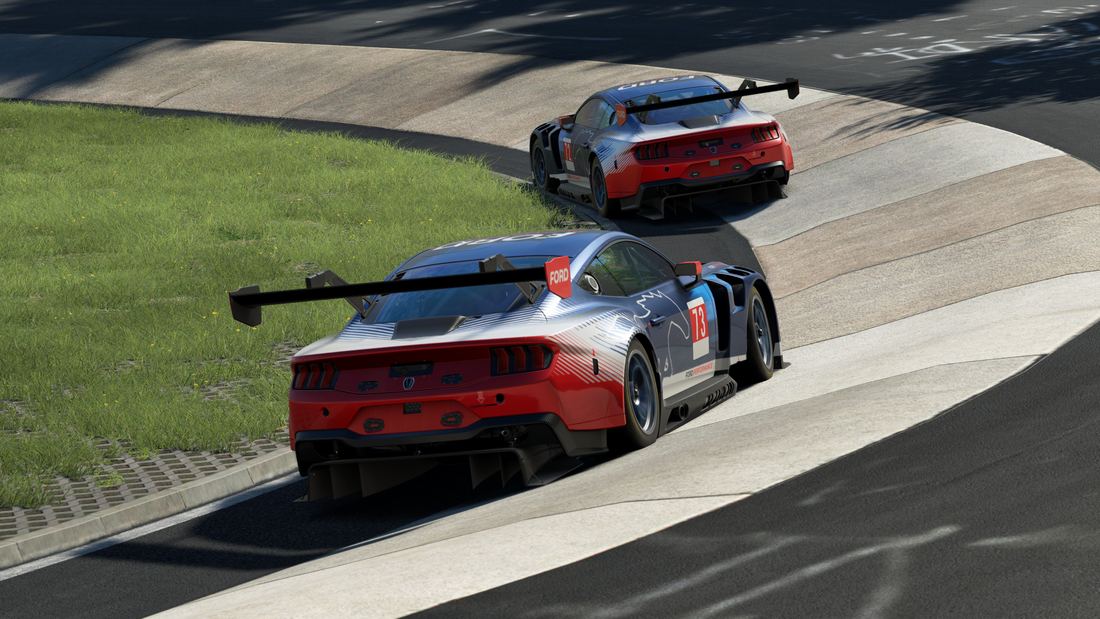 Hardware
Budget by level, what you genuinely need and what order to spend in.
Read →
Hardware
What to lower, what never to touch and why stability beats the average.
Read →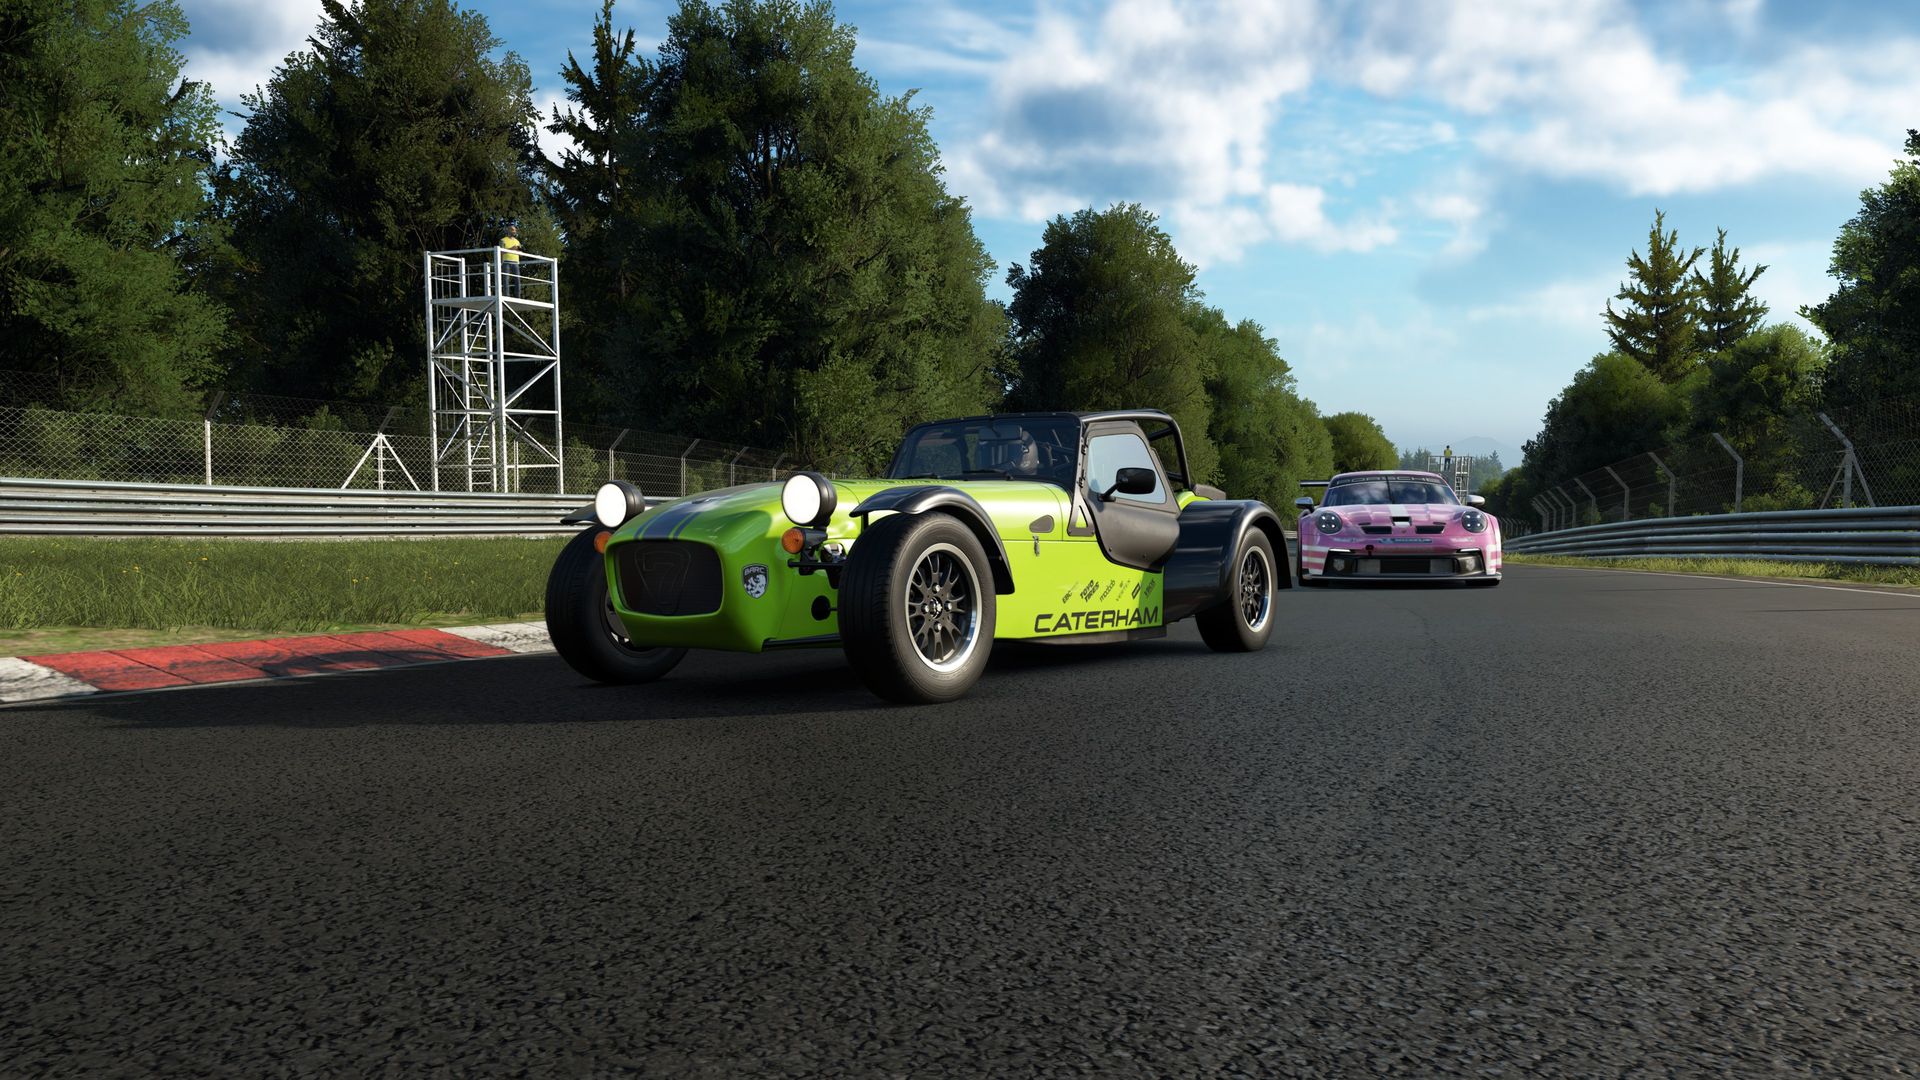
If you have a guide, a setup that works or a track analysis, we'll publish it with your name and your link. This community is built by all of us.
We publish a new guide every week and email you as soon as it's out.
 assettocorsaevo